
The Genesis Configuration moves marked objects, transfers fire and supplies combat powers as the story advances. Later puzzles also ask you to reshape the box itself to match a socket. These are different interaction types.
Which puzzle box does Aidan use?
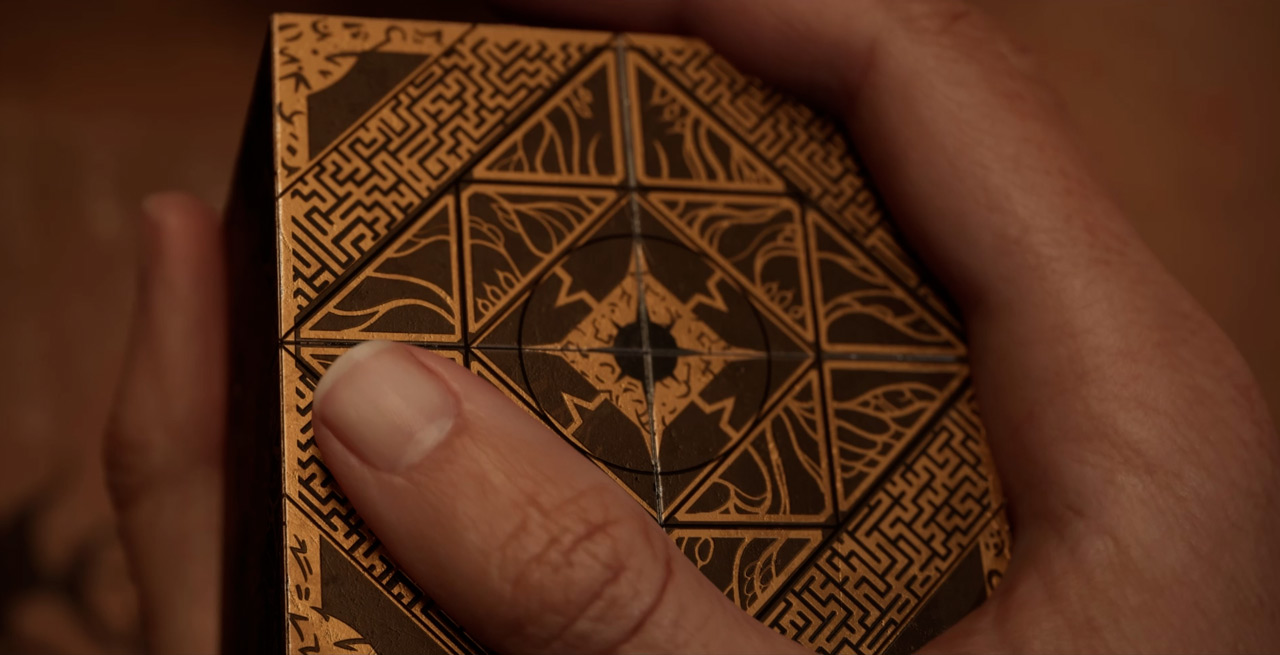
The official game description calls Aidan’s box the Genesis Configuration. It drives both traversal and combat. This guide uses the game’s name rather than treating every film-related puzzle box as mechanically identical.
The important question in a blocked room is what kind of interaction the game is asking for. A movable platform, a flame source, an enemy prompt and a shaped recess are four different tasks. Picking the right category is usually more useful than repeatedly activating the box at the nearest surface.
Move objects with a destination in mind
The prologue teaches moving marked blocks and platforms. Later rooms reuse that ability to clear a passage, hold a gate open or press a switch. Identify the exit and the controlling mechanism before moving the object.
If a block highlights but progress does not change, ask where it needs to end up. Moving it out of your way can be the wrong goal when the room expects it to touch a wall switch. In timed sequences, line up your movement route after placing the object so you can use the opening immediately.
Transfer fire between the correct targets
Fire puzzles use a source and a receiving target. Take the flame from the available source, aim at the intended target and complete the transfer. Recheck the environment afterward: the effect may release a block or change the accessible route rather than open the exit directly.
The distinction matters in rooms that combine powers. A block may need to be freed with fire before it can move. Conversely, moving a block can expose the target you must ignite. When a single action seems insufficient, look for the second part of the dependency instead of assuming the power failed.
Suffering, enemy states and Hellchains
The game’s combat powers are tied to progression and the Suffering resource. Watch the HUD and the on-screen interaction prompts rather than assuming every box action is available from the beginning. Published routes place the Hellchains unlock later in the campaign.
A highlighted or staggered enemy can be an opportunity for a box interaction. Bosses may also require a specific Hellchains prompt after a damage phase. Use that window when it appears; continuing ordinary attacks can delay the transition the encounter is waiting for.
For the practical differences between those encounters, use the boss guide. Suffering Pillars and ordinary supplies are separate categories, so check the completion-planning guide if you are tracking permanent upgrades.
Reshape the box at sockets
At certain pillars and gates, the game asks you to manipulate the Configuration’s physical shape. Compare the box with the recess, adjust it and confirm the placement. This is not the same action as aiming telekinesis at a block.
Sunny’s pillar in the Field of Souls is an important example. If you reached it after the chase and your usual power controls do not advance the scene, inspect the pillar’s placement prompt. The Sunny’s Soul walkthrough explains that progression without treating the socket as a numeric lock.
When a box interaction seems unavailable
- Confirm that the current objective has reached the required story stage.
- Aim at the actual interactive target, not the surrounding wall.
- Check whether fire, another item or a switch must change the target first.
- Read the prompt for reshaping, confirming or using a combat power.
- Distinguish an empty resource from an ability that has not unlocked yet.
For the first hands-on use, return to the prologue guide. For the Leviathan statue, follow the early key-item route; its rotating sections are a separate physical puzzle.
Sources & review scope
Independently written from published route references and official information. This page does not claim a first-hand playthrough. Check your objective, difficulty and game version when a detail differs.